Stenciling Your Wall on the Cheap to Create amazing Designs [Home+DIY/Money]
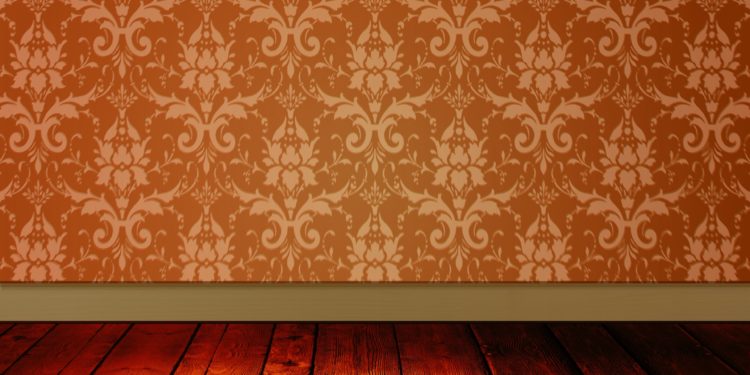
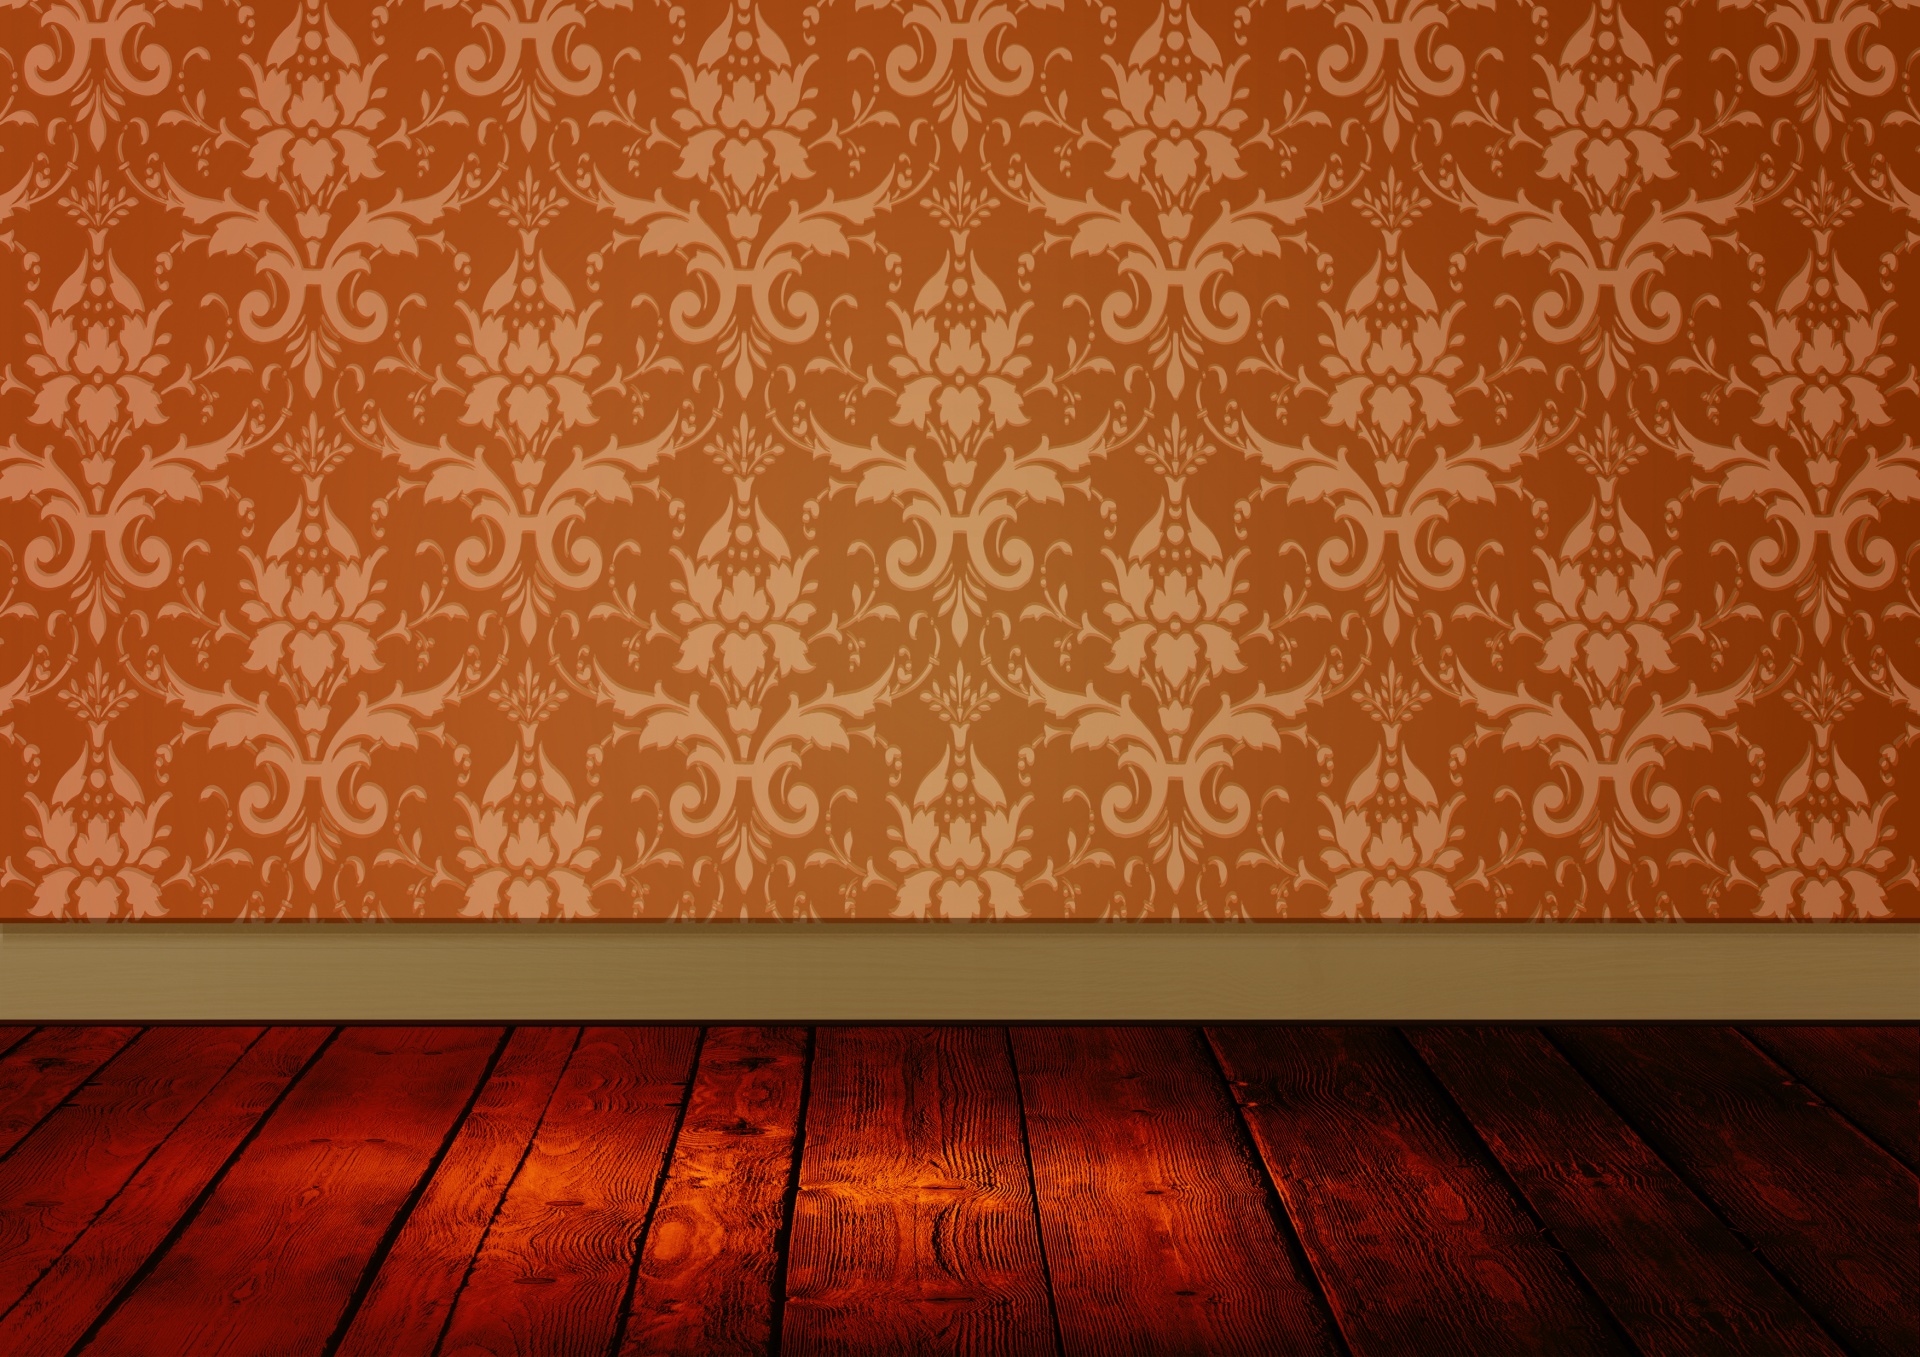
We have all seen walls that feature beautiful patterns that get repeated again and again to repeat a beautiful textured pattern. We may have thought that achieving getting this rich and detailed look is done with extravagant textured wall paper. We have also seen what looks like painted flowers or other pictures of nature on walls at restaurants or hotel lobbies and thought that they were painted by professionals. In some cases this is accurate, but often what you are seeing is wall stenciling. When done properly, the look is dramatic and it replaces the need to purchase very expensive textured wallpaper or hiring a professional artist to draw the wall design. Here is how you create amazing wall looks with stencils.
Creating a Wall Stencil
Wall stenciling is using a cutout of a pattern (a stencil) to place that pattern on a wall. The stencil template pattern can be used once or repeatedly to create a rich and detailed look on any wall. After placing the design on the wall, colors are filled in the spaces in order to create a complete image. The stencil you use can be a popular pattern or one you create on your own.
Creating wall stencils is an easy process but one that takes time and patience. You will need to prepare with the the right tools to complete the job, but it is definitely a DIY project.
- Measure the area you want to stencil
Measure the area you want to stencil. This is important before you pick your stencil so you are clear about how it will look. Stencil will come in different sizes and some patterns will not look good unless you can complete the design, so knowing for sure that your space will accommodate the design is very important.
If your idea is to place one design on the wall, make sure your stencil area will fit it and leave room around it as well. For repeated designs, make sure the amount you want to fit can fit. You may be able to modify the size of the stencil to fit the design you want. You should figure this out before you settle on your stencil design.
You should also make sure the area you want to stencil is clean and free of any holes. If not, you should clear and patch up any holes before you begin.
- Pick your stencil
Almost any stencil pattern can work but if you do not have any ideas, go to sites like Pinterest and look for ideas of patterns that you can use. You can also find stencils at your local hardware and paint stores. Those who are artistically inclined may choose to draw their own pattern. For those of us who are not, the web has dozens of sites with stencil patterns that you can download and print out for free.
Keep in mind that simple patterns will be the easiest to work with and often show as well as the more intricate ones.
If you plan on making your stencil, draw your pattern or design and then trace the pattern carefully on the stencil sheet. Cut out the design, and remember that this is the pattern that will go directly on to your wall. Depending on the size of your stencil, you may have to create it in sections and tape the parts together.
- Buy supplies
The supplies you need will vary based on where you are putting the stencil. The basics are: Stencil sheets (buy extras), markers, measuring tape, Exacto knife, Masking tape (strong enough to hold your stencil in place but come off clean), paint brush or sprayer depending on your preference. You may also need a ladder.
Paint – The color you choose for the stencil will determine the look. Choosing a sharp contrast will create a dramatic effect and choosing one closer to the original wall color will be subtle. If you are not sure, review how some of the choices you are thinking, by looking online. Remember, there is no wrong or right and here is where you can let your creativity shine.
- Practice using the stencil first
Before you make a permanent wall stencil practice stenciling on something other than you target wall. Al old board is perfect for this job. Make sure you get a good feel for how it works and that you master taping the stencil sheet to the board so that it does not move. You should put the taps on the bottom side of the stencil. Once you feel ready, it is time for you to begin stenciling.
Once you get comfortable you will find that stenciling is quick and easy, and best of all it is a really cheap way to have beautiful walls anywhere you choose.